Why Your Winter Laundry Load is Stuck with a Cold Dryer

As the temperatures drop and the winter season sets in, it’s not uncommon to encounter some unexpected challenges around the house. One of the most frustrating issues that can arise is a dryer not heating properly. Not only does this disrupt our daily routines, but it also leaves us with a pile of damp laundry that refuses to dry. If you’re currently facing this problem, don’t worry, you’re not alone. In this blog post, we’ll explore several reasons why your dryer may not be heating during the winter months and provide some solutions to get it back up and running. Say goodbye to cold laundry loads and hello to warm, dry clothes once again!
DIY Troubleshooting for a Cold Dryer
If you’re dealing with a cold dryer during the winter months, there are a few DIY troubleshooting steps you can take before calling in the professionals. First, double-check that the power supply to your dryer is working properly. Sometimes, a simple tripped circuit breaker or blown fuse can be the cause of the issue. Reset the breaker or replace the fuse if necessary.
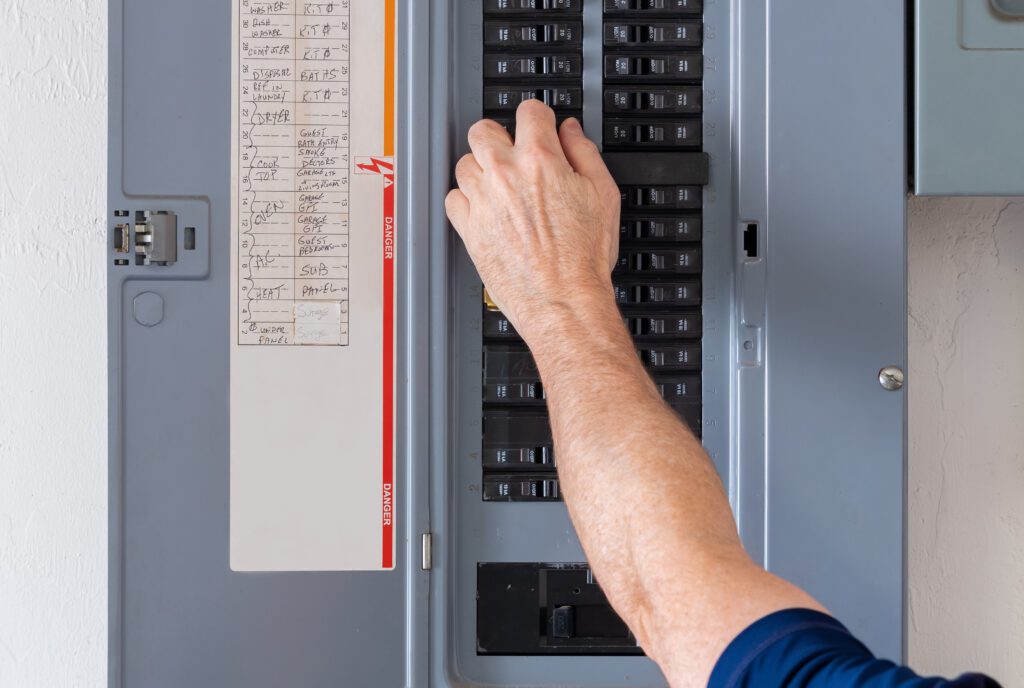
It seems simple. But sometimes, the reason your drying machine lacks heat is because a tripped circuit breaker or blown fuse. Check and reset as necessary if you’re experiencing this issue.
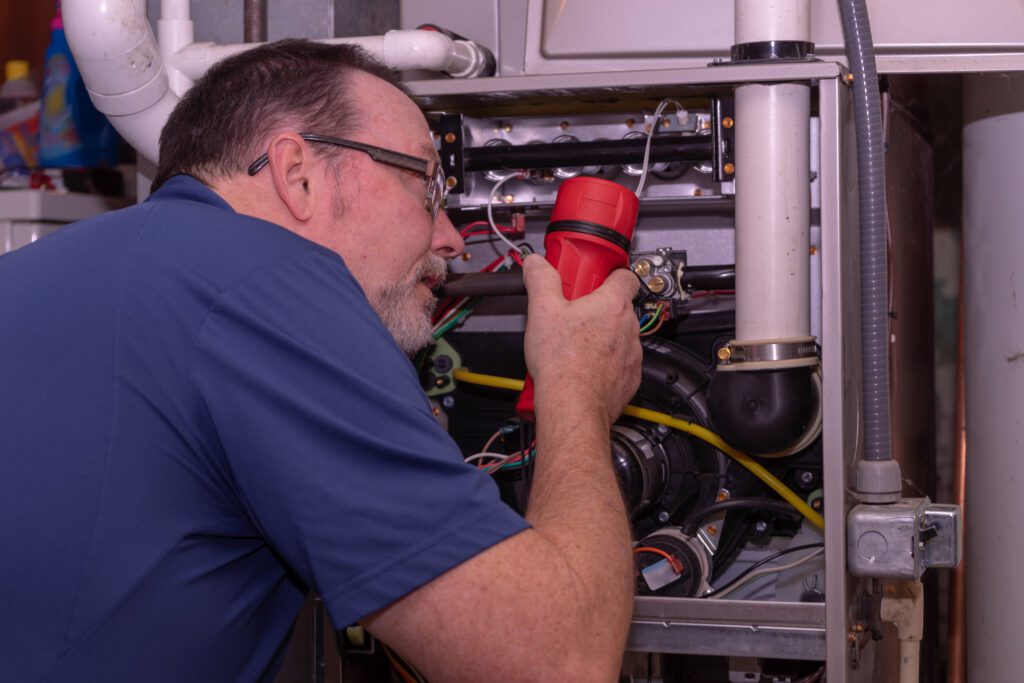
Next, take a look at the heating element. Over time, these elements can wear out and stop functioning effectively. To test it, use a multimeter or consult a professional for assistance. If you discover that the heating element is faulty, it may need to be replaced.
Another potential culprit could be clogged dryer vents. Lint and debris can accumulate over time, restricting airflow and preventing your dryer from heating efficiently. Regularly cleaning out the vents can help prevent this problem.
Lastly, consider the thermostat. If it’s malfunctioning, it may not be regulating the temperature properly, leading to a non-heating dryer. Test the thermostat or seek professional help to diagnose and replace it if needed.
By following these DIY troubleshooting steps, you may be able to solve the issue and get your dryer back up and running without having to call in the experts.
When to Call in the Professionals: Signs Your Dryer Needs Expert Repair
If you’ve gone through the DIY troubleshooting steps and your dryer is still not heating during the winter months, it may be time to call in the professionals. While it can be tempting to try and fix the issue yourself, there are certain signs that indicate your dryer needs expert repair.
One of the first signs that your dryer requires professional attention is if the heating element is visibly damaged or burnt out. If you notice any frayed wires, cracks, or discoloration on the heating element, it’s best to leave the repairs to the experts. Attempting to fix a faulty heating element without proper knowledge can be dangerous and may result in further damage to your dryer or even pose a fire hazard.
Another clear sign that it’s time to call in the professionals is if your dryer continues to not heat up after attempting the DIY troubleshooting steps. This could indicate a more complex issue that requires specialized tools and expertise to diagnose and repair.
Lastly, if you’re unsure of how to properly test or replace components such as the thermostat or heating element, it’s always better to seek professional help. They have the knowledge and experience to accurately diagnose the problem and ensure a safe and effective repair.
Remember, it’s important to prioritize safety and leave any complicated repairs to the experts. Don’t hesitate to contact a professional dryer repair service if you’re experiencing persistent heating issues with your dryer.
Tips for Preventing Future Dryer Heating Problems
To prevent future dryer heating problems and ensure your laundry loads stay warm and dry all winter long, there are a few simple tips you can follow. First and foremost, make sure to clean out your dryer vents regularly. This will prevent lint and debris from building up and restricting airflow, which can lead to heating issues. Additionally, check the vent hose and make sure it’s not kinked or blocked in any way.
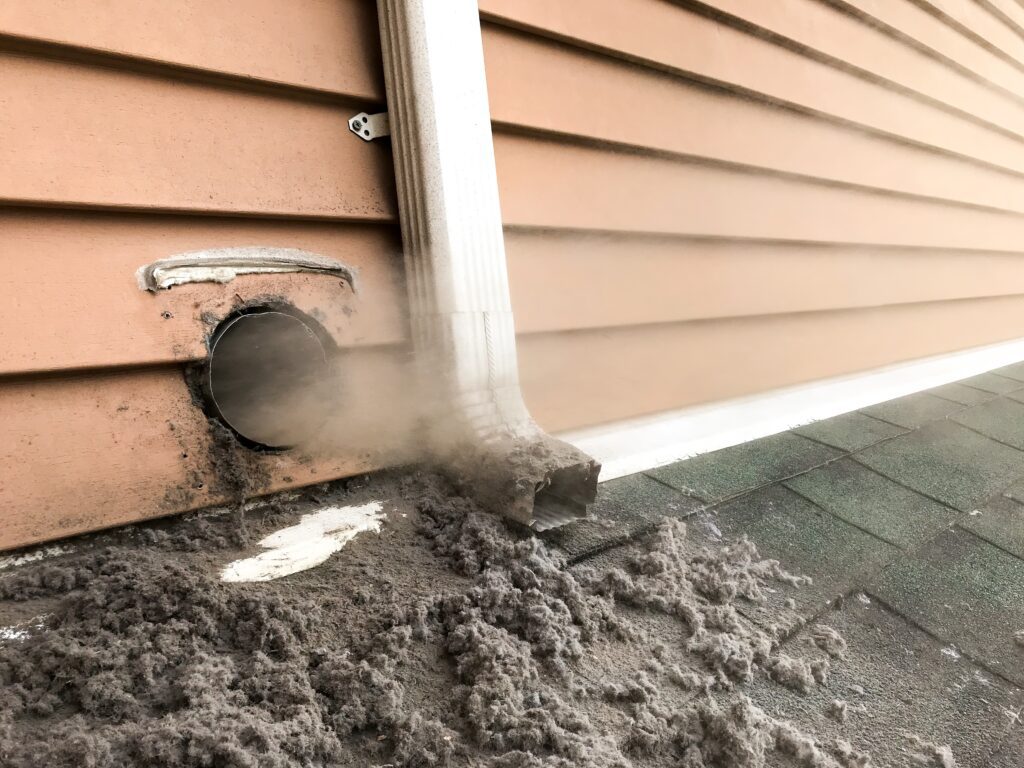
Cleaning your dryer vents regularly prevents lint and debris from building up and restricting airflow.
Another tip is to avoid overloading your dryer. While it may be tempting to fit as much laundry as possible into each load, overloading can strain the dryer’s heating element and reduce its efficiency. Instead, opt for smaller, more manageable loads that allow for proper airflow.
It’s also important to check your dryer’s exhaust vent outside of your home. Ensure it’s clear of any obstructions like leaves or debris, as these can also impede airflow.
Lastly, consider investing in a dryer vent cleaning kit. These kits typically come with brushes and rods that can reach deep into the vents to remove stubborn lint buildup. Regularly using a vent cleaning kit can significantly reduce the risk of future heating problems.
By following these preventative tips, you can keep your dryer running smoothly and avoid the frustration of a cold laundry load during the winter months. Stay proactive and enjoy warm, dry clothes all season long!
And if you need help, remember, we’re only a click away. Contact us today!